You know these fancy LED Stripes that you find in almost every bar? You think turning the light on and off with an infrared remote control isn’t cool enough? Follow this guide and learn how to set up an Arduino to control your light like a boss using your PC or smartphone.
Demo: Beat detection
Here’s a little preview of what you can do with an Arduino hooked up to an LED strip:
What you need
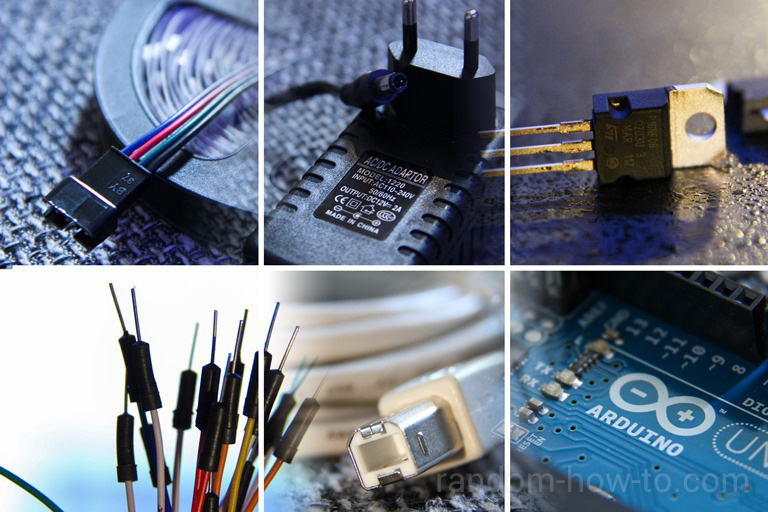
You will need one RGB LED strip, an Arduino Uno and a few minor parts, including a breadboard, at least 10 jumper wires, 3 mosfets and a power supply for your Arduino.
You should be able to get all these parts for less than 50€, even cheaper if you already have an LED strip or Arduino.
Setup
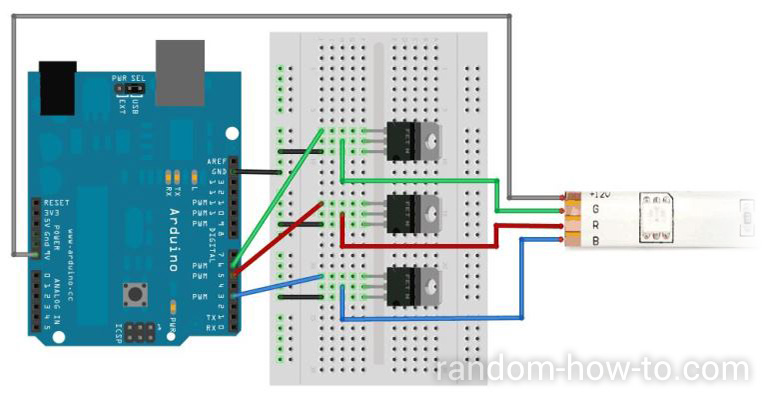
First of all, play around with your Arduino a bit. Connect it with you dev PC via USB and try out a few sample sketches. If you know what you are doing, use the stuff listed above to build this:
Source: Adafruit. All parts will fit together nicely, you can even use one end of the LED strip to plug in the pins of the jumper wires directly. No need to solder anything.
Code
Once that’s done, the fun part begins. You can now control the LED strip by sending output to the pins connected to your Arduino, one for red, green and blue. To learn more, look at the project source on GitHub.
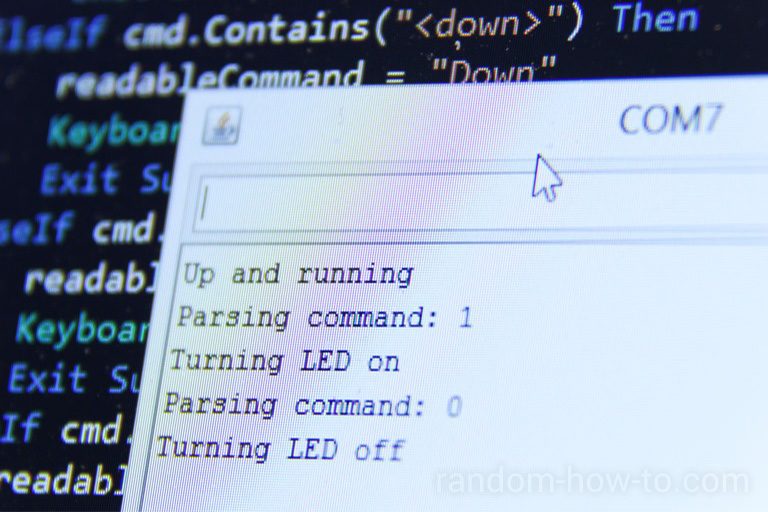
While connected via USB, use the COM serial port to send commands to your Arduino. Take a look at the open source Remote Control Server, you can use the Serial module to communicate with your Arduino from your Android, iOS or BlackBerry smartphone. On your smartphone, get the free Remote Control Collection app to do so.
Here are a few usefull code snippets you might want to use.
Create a struct for your colors:
typedef struct Color {

 unsigned char r; // red

 unsigned char g; // green

 unsigned char b; // blue

 unsigned char a; // alpha

} Color;
Actually show a color on the LED strip:
void setColor(Color color) {

 // set the rgb values as input for pins

 lastColor = color;

 Color newColor = dimColor(color);

 analogWrite(redPin, newColor.r);

 analogWrite(greenPin, newColor.g);

 analogWrite(bluePin, newColor.b);

}

Color dimColor(Color color) {

 // reaclculate rgb values based on alpha value

 Color newColor = color;

 newColor.r = (newColor.r * newColor.a) / 255;

 newColor.g = (newColor.g * newColor.a) / 255;

 newColor.b = (newColor.b * newColor.a) / 255;

 return newColor;

}


Hi,
first, you did a very nice job.
i already have a teensy with adalight and a raspi with hyperion running.
would you please provide some more informations about your project ?
i would like to see the sourcecode and the software you used, to grab the music.
ty and greetings
stefan
Could you provide the full script that you used?
I know it’s been a while, but the Arduino source is now on GitHub:
https://github.com/Steppschuh/LEDStripeController